Sharp AR-651 Instrukcja Użytkownika Strona 143
- Strona / 178
- Spis treści
- BOOKMARKI
- SHARP CORPORATION 1
- FCC NOTICE 3
- ENERGY STAR ® (MFD) 4
- PREFACE (Cont.) 6
- TABLE OF CONTENTS (Cont.) 8
- 1. Installation 11
- PRECAUTIONS (Cont.) 12
- Explanatory Label 13
- Certification Label 13
- Identification Label 13
- Warning Label 13
- To unlock 14
- 1. BEFORE MAKING COPIES 15
- BEFORE MAKING COPIES 16
- Optional Equipment 17
- Touch Panel 20
- 2. HOW TO MAKE COPIES 25
- HOW TO MAKE COPIES 26
- Exiting Copy Papers 27
- Handling and Storing Paper 29
- 2. SETTING COPY PAPER (Cont.) 30
- 3. SETTING ORIGINALS (Cont.) 34
- Exiting Originals 35
- Press the START key 37
- SETTING OF BASIC COPY MODES 44
- Manual Paper Selection 45
- Original Copy 49
- 4. USING THE EDITING 57
- FUNCTIONS 57
- USING THE EDITING FUNCTIONS 58
- *25.4mm = 1" 59
- -12- -13- -12 61
- 5. IMAGE EDITING (Cont.) 66
- Negative/Positive Reversal 67
- 2IN1 DUPLEX 68
- 4IN1 DUPLEX 68
- 11.15. 2002 14:54 70
- Select the paper type 72
- Tab paper back guide 78
- 12. TAB PAPER MODE(Cont.) 80
- Page 4-29 87
- 14. OVERLAY (Cont.) 88
- 5. USING THE SPECIAL 91
- 3. JOB MEMORY (Cont.) 96
- Confirming Stored Copy Jobs 97
- 4. BYPASS COPYING(cont.) 100
- * 25.4mm = 1" 101
- USING THE SPECIAL FUNCTIONS 102
- Number 1 234567 105
- Correcting Entered Letters 119
- 6. SELECTING FINISHING MODES 121
- Names of the Main Components 122
- SELECTING FINISHING MODES 124
- Setting Paper 129
- Setting the Inserter 130
- Press the START key 133
- 7. WHEN THE GRAPHIC SYMBOLS 135
- FLASH ON THE TOUCH PANEL 135
- Side guide 137
- Approx. 0.5mm Approx. 0.5mm 137
- 2. ADD PAPER SYMBOL (Cont.) 138
- Slide rail 139
- Label (orange) 141
- Shutter (orange) 141
- Type of originals 142
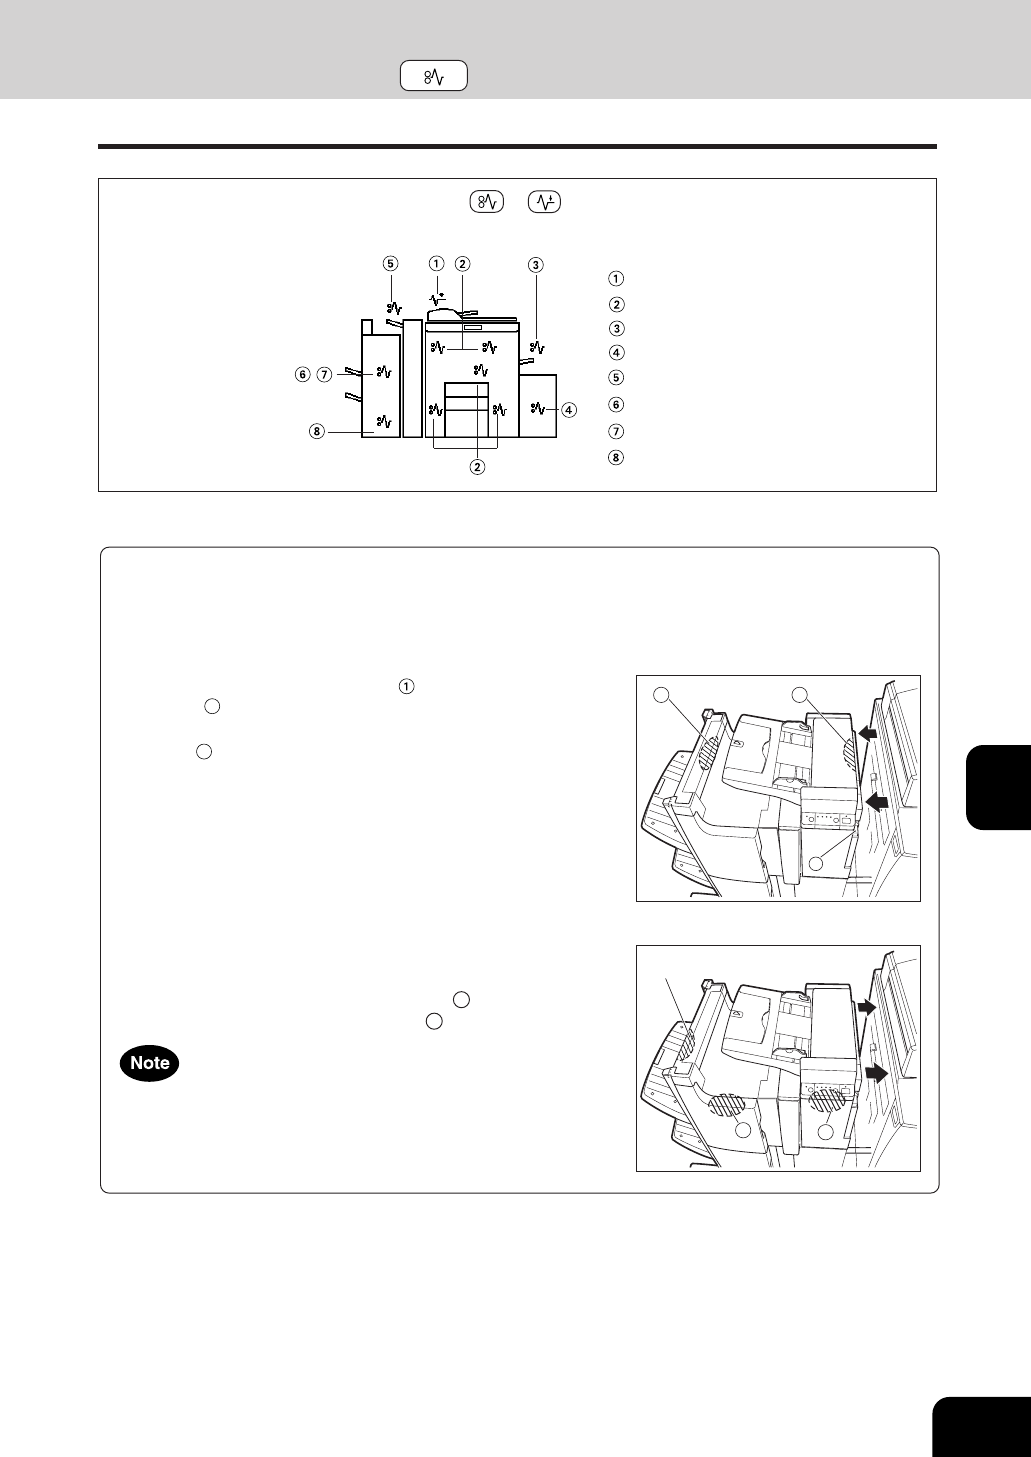
- C . If an inserter is to 143
- D instead 143
- Open the paper feed cover 146
- Open the bypass cover 146
- Remove any misfed paper 146
- Open the exit cover 147
- Metal area 148
- Fuser unit 148
- Blue knob 149
- 151
- Jammed staples 159
- CALL SERVICE SYMBOL 162
- PERIODIC MAINTENANCE MESSAGE 162
- 8. MAINTENANCE 163
- Items for Daily Check 164
- Weekly Maintenance 164
- Copier does not start 165
- Copy density is too low 165
- MAINTENANCE 166
- 9. SPECIFICATIONS & 167
- Face down 169
- SPECIFICATIONS & OPTIONS 172
- ➣➢➣➢➣➢➣➢➣➢➣➢➣➢➣➢➣➢➣ 177
Powiązane produkty i podręczniki dla Drukarki Sharp AR-651
 (12 strony)
(104 strony)
(146 strony)
(55 strony)
(148 strony)
(84 strony)
(56 strony)
(80 strony)
(112 strony)
(11 strony)
(311 strony)
(168 strony)
(310 strony)
(12 strony)
(12 strony)
(104 strony)
(146 strony)
(55 strony)
(148 strony)
(84 strony)
(56 strony)
(80 strony)
(112 strony)
(11 strony)
(311 strony)
(168 strony)
(310 strony)
(12 strony)
© 2020, manymanuals.pl. Wszelkie prawa zastrzeżone. | 0.047 s |
 Manymanuals.com
 Manymanuals.de
 Manymanuals.fr
 Manymanuals.it
 Manymanuals.pl
 Manymanuals.cz
 Manymanuals.es
 Manymanuals-pt.com
Komentarze do niniejszej Instrukcji