Sharp LD-26SH3U Dokumentacja
Przeglądaj online lub pobierz Dokumentacja dla Wyświetlacze publiczne Sharp LD-26SH3U. Sharp LD-26SH3U Specifications Instrukcja obsługi
- Strona / 69
- Spis treści
- ROZWIĄZYWANIE PROBLEMÓW
- BOOKMARKI

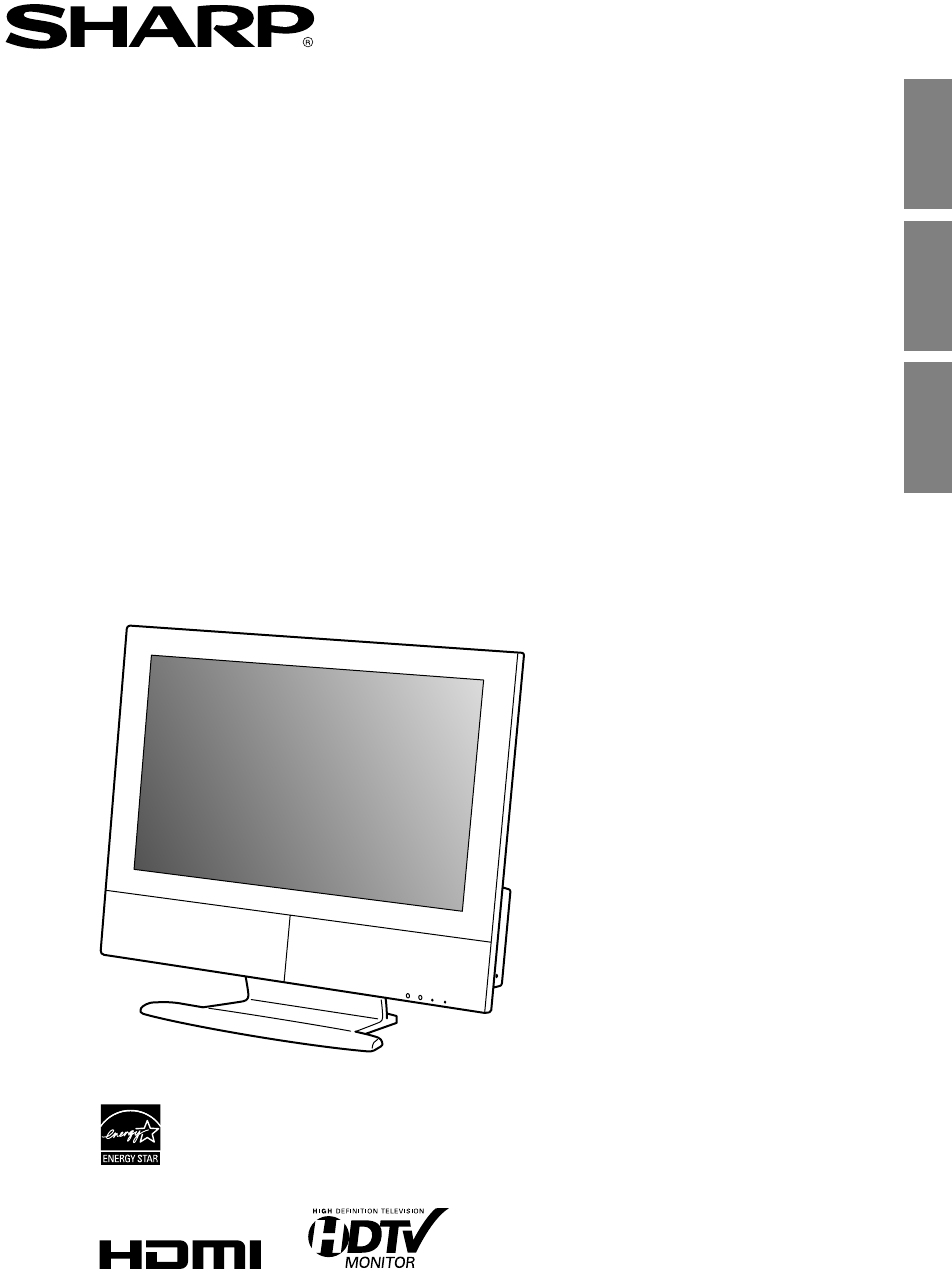
- LD-26SH3U 1
- IMPORTANT INFORMATION 2
- Table of Contents 4
- Tips and safety instructions 6
- Product description 11
- 5 m (16' 4") 15
- Preparation steps 16
- Connecting the 17
- Cable TV (CATV) connection 18
- DISPLAY INPUT 21
- POWERVOL 21
- AV-IN 4 AV-IN 5 22
- (White) (White) 24
- (Red) (Red) 24
- (Green) (Green) 24
- (Blue) (Blue) 24
- Analog connection 26
- Digital connection 27
- Connecting the audio cable 27
- ENTERMENUINPUT 28
- Basic operations 29
- Setting TV channels 33
- Watching TV 35
- Adjusting the V-Chip settings 37
- MENU [Setup 38
- (Status) 40
- Pausing the screen (FREEZE) 42
- Using the menus in TV/AV mode 43
- (for analog signals) 47
- Using the menus in PC mode 48
- Swapping images (SWAP) 55
- Other features 56
- Troubleshooting 63
- LCD panel section 66
- Ventilation openings 66
- Specifications 67
Podsumowanie treści
26" LCD COLOR TVTÉLÉVISEUR ACL COULEUR 26"TV DE LCD A COLOR DE 26"LD-26SH3UOPERATION MANUALMODE D'EMPLOIMANUAL DE FUNCIONAMIENTOPr
E9EnglishFrançaisEspañolItalianoEspañolEnglishProduct and accessory checklistPlease check that the following items are includedin the package.- 26&quo
E10Product descriptionFront viewPOWERVOLCHENTERMENUINPUTOPC POWER12567843Main unitRemoving/replacing the terminal coverRemoving the cover Replacing th
E11EnglishFrançaisEspañolItalianoEspañolEnglishProduct descriptionMain unitRear view324567891012111314151617118 19 20 21 22 23 24 2526AB1. Antenna inp
E12Product descriptionRemote controlPOWERDISPLAY INPUTTV AVMENU PCVOLCHRETURNSLEEPEXIT MTS MUTEVIEW MODE PICT MODECC FREEZEON/OFF SIZE/MOVEPIP/SPLITSW
E13EnglishFrançaisEspañolItalianoEspañolEnglishProduct descriptionAngle adjustmentAdjust to an easy to view angle. CAUTION!- Be sure to hold both side
E14Remote controlUsing the remote controlUse the remote control by pointing it towards theremote control sensor on the TV. Objects betweenthe remote c
E15EnglishFrançaisEspañolItalianoEspañolEnglishPCTVAVPCTVAVTVPreparation stepsUse the following steps to connect and set up your TV.PCTVAV...Required
E16Connecting the TV to a home antenna terminal CAUTION!- When connecting, ensure that the TV is switched off.The antenna requirements for good color
E17EnglishFrançaisEspañolItalianoEspañolEnglishConnecting the TV to a home antenna terminalCable TV (CATV) connection- A 75-ohm coaxial cable connecto
E18Connecting the TV to a home antenna terminalConnection to an antenna input terminal of AV equipmentA different type of antenna cable is required de
E1EnglishFrançaisEspañolItalianoEspañolEnglishENGLISH IMPORTANT INFORMATIONIMPORTANT:To aid in reporting in case of loss or theft, pleaserecord the TV
E19EnglishFrançaisEspañolItalianoEspañolEnglishConnecting the TV to a power source CAUTION!- When connecting, ensure that the TV is switched off.- Use
E20Setting TV channels (EZ Setup)When you turn on the TV for the first time (seepage E28), it will automatically memorize thebroadcasting channels whe
E21EnglishFrançaisEspañolItalianoEspañolEnglishConnecting the TV to AV equipment CAUTION!- Ensure that the TV and all the equipment you are connecting
E22AV equipment with video output terminalsAV-IN 1 or AV-IN 3AV-IN 2VIDEOAUDIO-LAUDIO-RVIDEOAUDIO-LAUDIO-RNotes:- When using the video input terminal
E23EnglishFrançaisEspañolItalianoEspañolEnglishAV equipment with component output terminalsYPbPr AUDIO-LAUDIO-RYPbPrVIDEOAUDIO-LAUDIO-RAV-IN 2Note:- W
E24Connecting the TV to AV equipmentAV equipment with DVI output terminalsAUDIO-LAUDIO-RDVI OUTAUDIO-L AUDIO-R DIGITALNotes:- The DVI input terminal i
E25EnglishFrançaisEspañolItalianoEspañolEnglishConnecting the TV to a computer CAUTION!- When connecting, ensure that the TV and all theequipment you
E26Digital connectionConnect the separately-sold digital signal cable(model name: NL-C04J) to the digital RGB outputterminal of the computer.See page
E27EnglishFrançaisEspañolItalianoEspañolEnglishBasic adjustment screen operationThe explanations in this manual use primarily the remote control.(Oper
E28Basic operationsTurning power on/offPOWERVOLCHENTERMENUINPUTPOWERDISPLAY INPUTFLASHBACKTurning power onWhen the POWER LED is off:1.Press the POWER
E2FCC StatementWARNING – FCC Regulations state that any unauthorized changes or modifications to thisequipment not expressly approved by the manufactu
E29EnglishFrançaisEspañolItalianoEspañolEnglishSwitching display modes (INPUT)Notes:- To select AV5 mode, set "DVI Select" to "AV"
E30Adjusting the volumeThe volume can be set individually for PC modeand TV/AV mode. Start by switching to the displaymode for which you want to set t
E31EnglishFrançaisEspañolItalianoEspañolEnglishBasic operationsEnjoying surround sound(Virtual Dolby Surround)The Virtual Dolby Surround function allo
E32Setting TV channelsThe following table shows the channels this TVcan receive.VHF Channels 2 through 13UHF Channels 14 through 69CableChannel 1 (HRC
E33EnglishFrançaisEspañolItalianoEspañolEnglishSetting TV channelsSaving broadcast TV channels in thememory (CH Search)"CH Search" allows yo
E34Watching TVSelecting MTS (Multi ch TV Sound)You can select MTS (Multi ch TV Sound) using theMTS button.STEREO stereo audioSAP second audio programM
E35EnglishFrançaisEspañolItalianoEspañolEnglishEnjoying DVDs, games, and other equipmentYou can enjoy additional pieces of AV equipmentconnected to yo
E36Helpful features (in TV/AV mode)Adjusting the V-Chip settingsImportant:- Please refer to the end of this manual for "Clearing the secret numbe
E37EnglishDeutschFrançaisItalianoEspañolEnglishHelpful features (in TV/AV mode)TV Parental GuidelinesRatingContent baseTV-Y (All children)TV-Y7 (Direc
E38Helpful features (in TV/AV mode)Setting V-Chip for MPAA ratingTV AVMENU PCENTERFLASHBACK1.Press the TV button to select TV mode.2.Press the MENU bu
E3EnglishFrançaisEspañolItalianoEspañolEnglishTable of ContentsGetting startedTips and safety instructions . . . . . . . . . . . . . . . . . . . . . .
E39EnglishDeutschFrançaisItalianoEspañolEnglishHelpful features (in TV/AV mode)Activating or deactivating V-Chip Block(Status)You can activate V-Chip
E40Setting the Closed Caption (CC)This TV is equipped with an internal Closed Caption decoder. "Closed Caption" is a system which allowsconv
E41EnglishDeutschFrançaisItalianoEspañolEnglishHelpful features (in TV/AV mode)Pausing the screen (FREEZE)This feature pauses the image from the TV or
E42Menu setting items* TV mode only** AV4 mode only*** The values set in TV/AV mode will be alsoapplied in PC mode.Picture menuOPC ...
E43EnglishDeutschFrançaisItalianoEspañolEnglishUsing the menus in TV/AV modePicture menu (See page E42 for information on using the menus.)The current
E44Using the menus in TV/AV modeSetup menu (See page E42 for information on using the menus.)ItemCH Setup(TV mode only)V-ChipPositionLanguageDescripti
E45EnglishDeutschFrançaisItalianoEspañolEnglishOption menu (See page E42 for information on using the menus.)ItemQuick ShootOutput SelectDVI SelectHDM
E46Adjusting the computer display automatically (for analog signals)When using the TV as a computer display for thefirst time or after having changed
E47EnglishDeutschFrançaisItalianoEspañolEnglishMenu setting itemsPicture menuAuto* ... Page E49OPC ..
E48Using the menus in PC modeAdjustment patternIf you are using Windows, use the adjustmentpattern on the supplied CD-ROM.1.Load the supplied CD-ROM i
E4Table of ContentsPC modeAdjusting the computer display automatically (for analog signals) . . . . . . . . . . . . . . . . . . . . . . . . . . . . E
E49EnglishDeutschFrançaisItalianoEspañolEnglishPicture menu (See page E47 for information on using the menus.)The current picture mode (see page E56)
E50Using the menus in PC modeDescriptionAdjusts high-pitch sounds.Adjusts low-pitch sounds.Adjusts the balance between the right and left speakers.Tur
E51EnglishDeutschFrançaisItalianoEspañolEnglishUsing the menus in PC modeItemAuto Sync.*Fine Sync.*Input Signal*ScalingLanguageNote:- To exit the adju
E52Option menu (See page E47 for information on using the menus.)ItemQuick ShootOutput SelectDVI SelectUsing the menus in PC modeDescriptionReduces th
E53EnglishDeutschFrançaisItalianoEspañolEnglishWatching two images simultaneously (PIP/SPLIT)You can display the computer screen along withthe TV or v
E54Swapping images (SWAP)In PIP/Split mode, you can switch the imagesdisplayed on two windows with each other.RETURNSLEEPEXIT MTS MUTEVIEW MODE PICT M
E55EnglishDeutschFrançaisItalianoEspañolEnglishOther featuresChanging the screen size(VIEW MODE)You can change the screen size to match the videoon vi
E56Other featuresAdjusting the picture mode(PICT MODE)You can change the picture mode depending onthe type of the image you are now watching. Eachpict
E57EnglishDeutschFrançaisItalianoEspañolEnglishOther featuresChecking your TV's current settings(DISPLAY)The information displayed will vary depe
E58Other featuresPreventing changes to adjustedvalues (Adjustment Lock)Disabling the control buttons other than thefollowing buttons (TV and remote co
E5EnglishFrançaisEspañolItalianoEspañolEnglishTips and safety instructionsThank you for your purchase of the Sharp 26" LCD Color TV. To ensure sa
E59EnglishDeutschFrançaisItalianoEspañolEnglishOutputting images and sound to AV equipment CAUTION!- Ensure that the TV and all the equipment you are
E60Instructions for attaching a VESA-compliant mountAn arm or stand based on the VESA standard(commercially available) can be attached to the TV.Procu
E61EnglishDeutschFrançaisItalianoEspañolEnglish7.Reconnect the cables and replace the terminalcovers.See page E10 for information on replacing theterm
E62TroubleshootingIf you think the TV may be faulty, please check the following points before taking it to be repaired.If the TV continues not to work
E63EnglishDeutschFrançaisItalianoEspañolEnglishProblemThere is no sound from the TV speakers.There is no sound from the audiooutput terminals.There is
E64TroubleshootingProblem"Temperature" is displayedon the screen.POWER LED blinks red.What to CheckIf the temperature inside the TV rises, t
E65EnglishDeutschFrançaisItalianoEspañolEnglishTV careTV careAlways make sure to turn your TV off and thenunplug the TV from the AC outlet before clea
E66SpecificationsProduct specificationsModel nameLD-26SH3ULCD display26" Advanced Super-V and Anti-GlareLow-Reflection TFT LCD moduleActual displ
E67EnglishDeutschFrançaisItalianoEspañolEnglishDimensions (Units: mm (inch))280 (111/32)110 (411/32)500 (1911/16)559 (221/64)398 (1543/64)667 (2617/64
E68Power managementThe monitor is based on the VESA DPMS and theDVI DMPM standards. To activate the powermanagement function, the video card and theco
E6Tips and safety instructions- Water and Moisture – Do not use this product near water – for example, near a bath tub, washbowl, kitchen sink, or lau
E7EnglishFrançaisEspañolItalianoEspañolEnglish- If an outside antenna is connected to the equipment, be sure the antenna system is grounded soas to pr
E8Tips and safety instructionsPower cord- Do not damage the power cord, place heavyobjects on it, stretch it, or over bend it. Also, donot add extensi
Powiązane produkty i podręczniki dla Wyświetlacze publiczne Sharp LD-26SH3U
 (61 strony)
 (40 strony)
© 2020, manymanuals.pl. Wszelkie prawa zastrzeżone. | 0.040 s |
 Manymanuals.com
 Manymanuals.de
 Manymanuals.fr
 Manymanuals.it
 Manymanuals.pl
 Manymanuals.cz
 Manymanuals.es
 Manymanuals-pt.com
Komentarze do niniejszej Instrukcji