Sharp MX-M753 Instrukcja Instalacji
Przeglądaj online lub pobierz Instrukcja Instalacji dla Urządzenia wielofunkcyjne Sharp MX-M753. Sharp MX-M753 Installation manual Instrukcja obsługi
- Strona / 11
- Spis treści
- BOOKMARKI
- INSTALLATION MANUAL 1
- MX-M623N 1
- MX-M623U 1
- MX-M753N 1
- MX-M753U 1
- [1] MX-M623N/M623U/M753N/ 2
- (3) Direct rays of the sun 3
- (4) Gases and chemicals 3
- (5) Vibration 3
- (2) Dust 3
- 2. Transit and delivery 4
- 3. Unpacking 4
- 4. Installation 6
- D. Set developer 7
- E. Paper size change 8
- (2) Other notes 9
- (1) Main charger 10
- High densityLow density 11
Podsumowanie treści
INSTALLATION MANUALParts marked with " " are important for maintaining the safety of the set. Be sure to replace these parts withspecified o
MX-M753N MX-M623N/M623U/M753N/M753U 1 – 9G. Cleaning(1) Main charger1) Reciprocate the MC cleaner shaft back and forth to clean theelectrode tip.H.
MX-M753N MX-M623N/M623U/M753N/M753U 1 – 10(Method 2)Execute SIM 67-25 to print the adjustment check pattern.The print density must be changed gradua
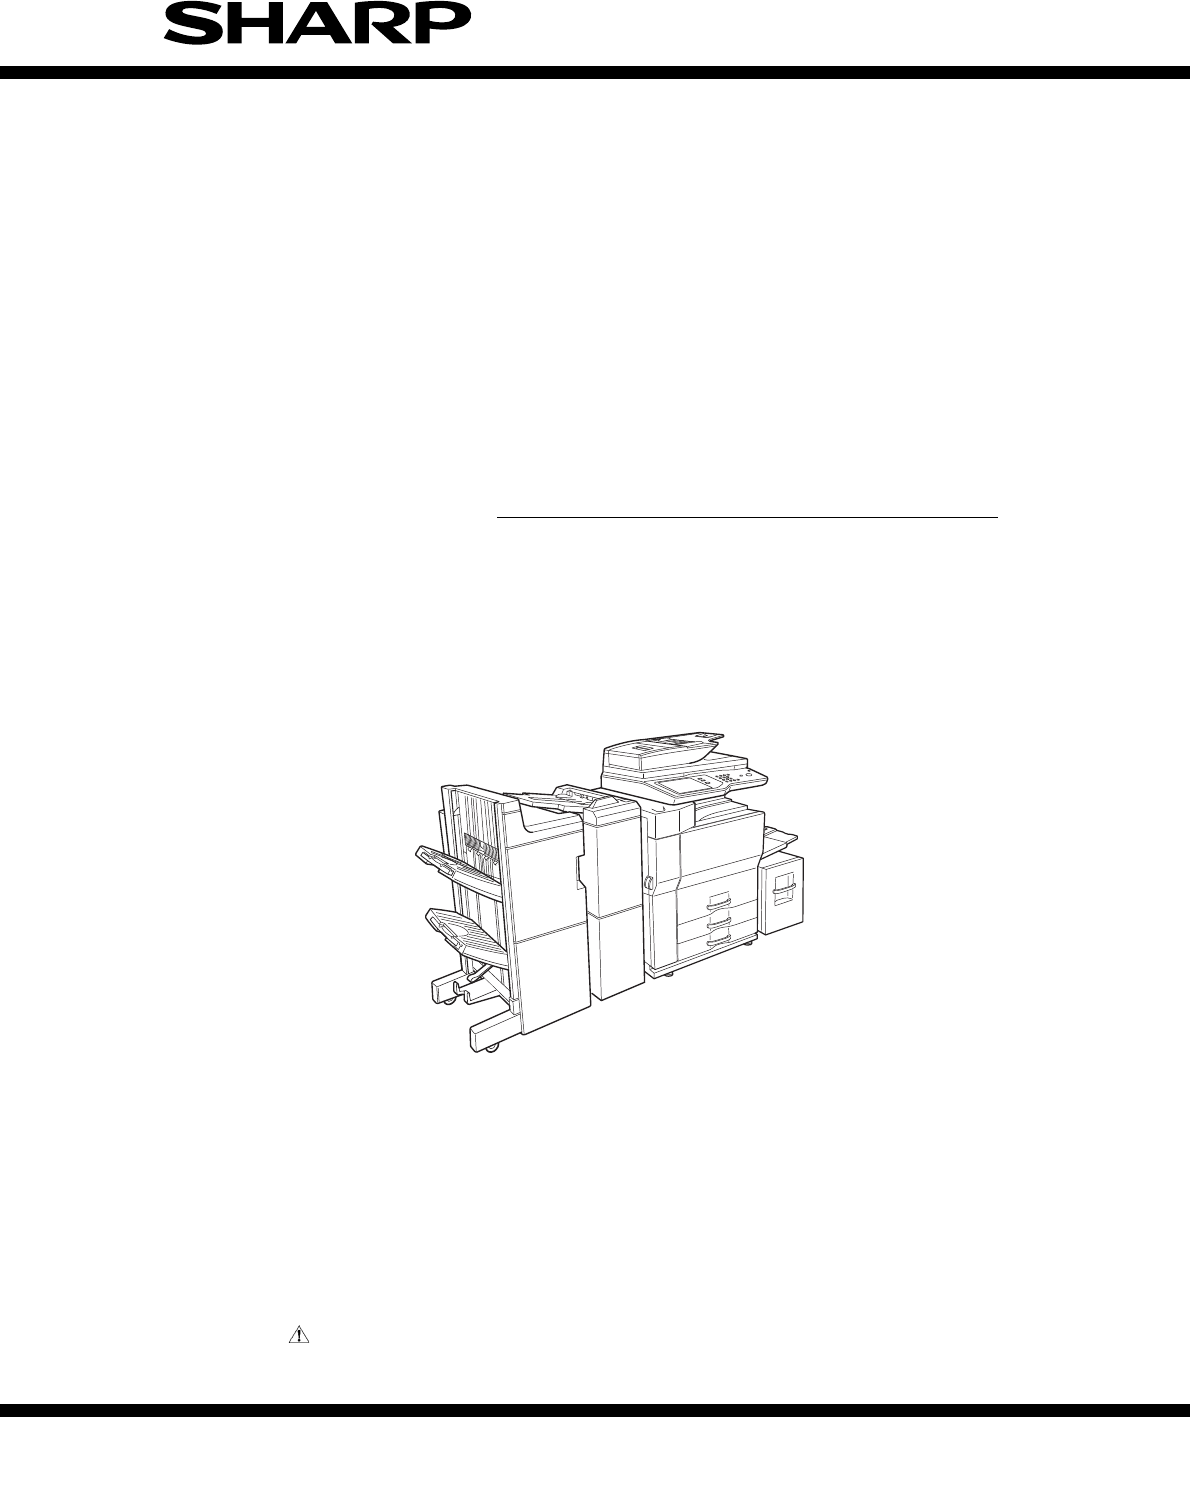
MX-M753N MX-M623N/M623U/M753N/M753U 1 – 1MX-M753N5GTXKEG/CPWCN[1] MX-M623N/M623U/M753N/M753U1. Installing (use) conditionsBefore installing the
MX-M753N MX-M623N/M623U/M753N/M753U 1 – 2(2) DustIf dust enters the machine, it may cause dirty copy and a paperjam, resulting in a shor
MX-M753N MX-M623N/M623U/M753N/M753U 1 – 3G. Note for handling the drum unit, the transfer unit, the developing unit, and the fusing unitWhen handlin
MX-M753N MX-M623N/M623U/M753N/M753U 1 – 47) Remove the slope.* Slope: Parts8) Attach the slope to the concave section of the skid.9) Hold the mach
MX-M753N MX-M623N/M623U/M753N/M753U 1 – 54. InstallationA. Adjuster cover installation1) Move the main unit to the installing position, and
MX-M753N MX-M623N/M623U/M753N/M753U 1 – 6C. Press the fusing section (upper and lower heat rollers) and remove the process separation pawl fixing bl
MX-M753N MX-M623N/M623U/M753N/M753U 1 – 76) While supplying developer to the developer supply port of thedeveloping unit, turn the MG gear clockwise
MX-M753N MX-M623N/M623U/M753N/M753U 1 – 82) Pull out tray 3.3) Slide the partition plate to tab paper as shown in the figurebelow and ins
Powiązane produkty i podręczniki dla Urządzenia wielofunkcyjne Sharp MX-M753
 (48 strony)
 (161 strony)
© 2020, manymanuals.pl. Wszelkie prawa zastrzeżone. | 0.101 s |
 Manymanuals.com
 Manymanuals.de
 Manymanuals.fr
 Manymanuals.it
 Manymanuals.pl
 Manymanuals.cz
 Manymanuals.es
 Manymanuals-pt.com
Komentarze do niniejszej Instrukcji