Sharp MX-4140N Instrukcja Instalacji
Przeglądaj online lub pobierz Instrukcja Instalacji dla Urządzenia wielofunkcyjne Sharp MX-4140N. Sharp MX-4140N Installation manual Instrukcja obsługi
- Strona / 19
- Spis treści
- BOOKMARKI
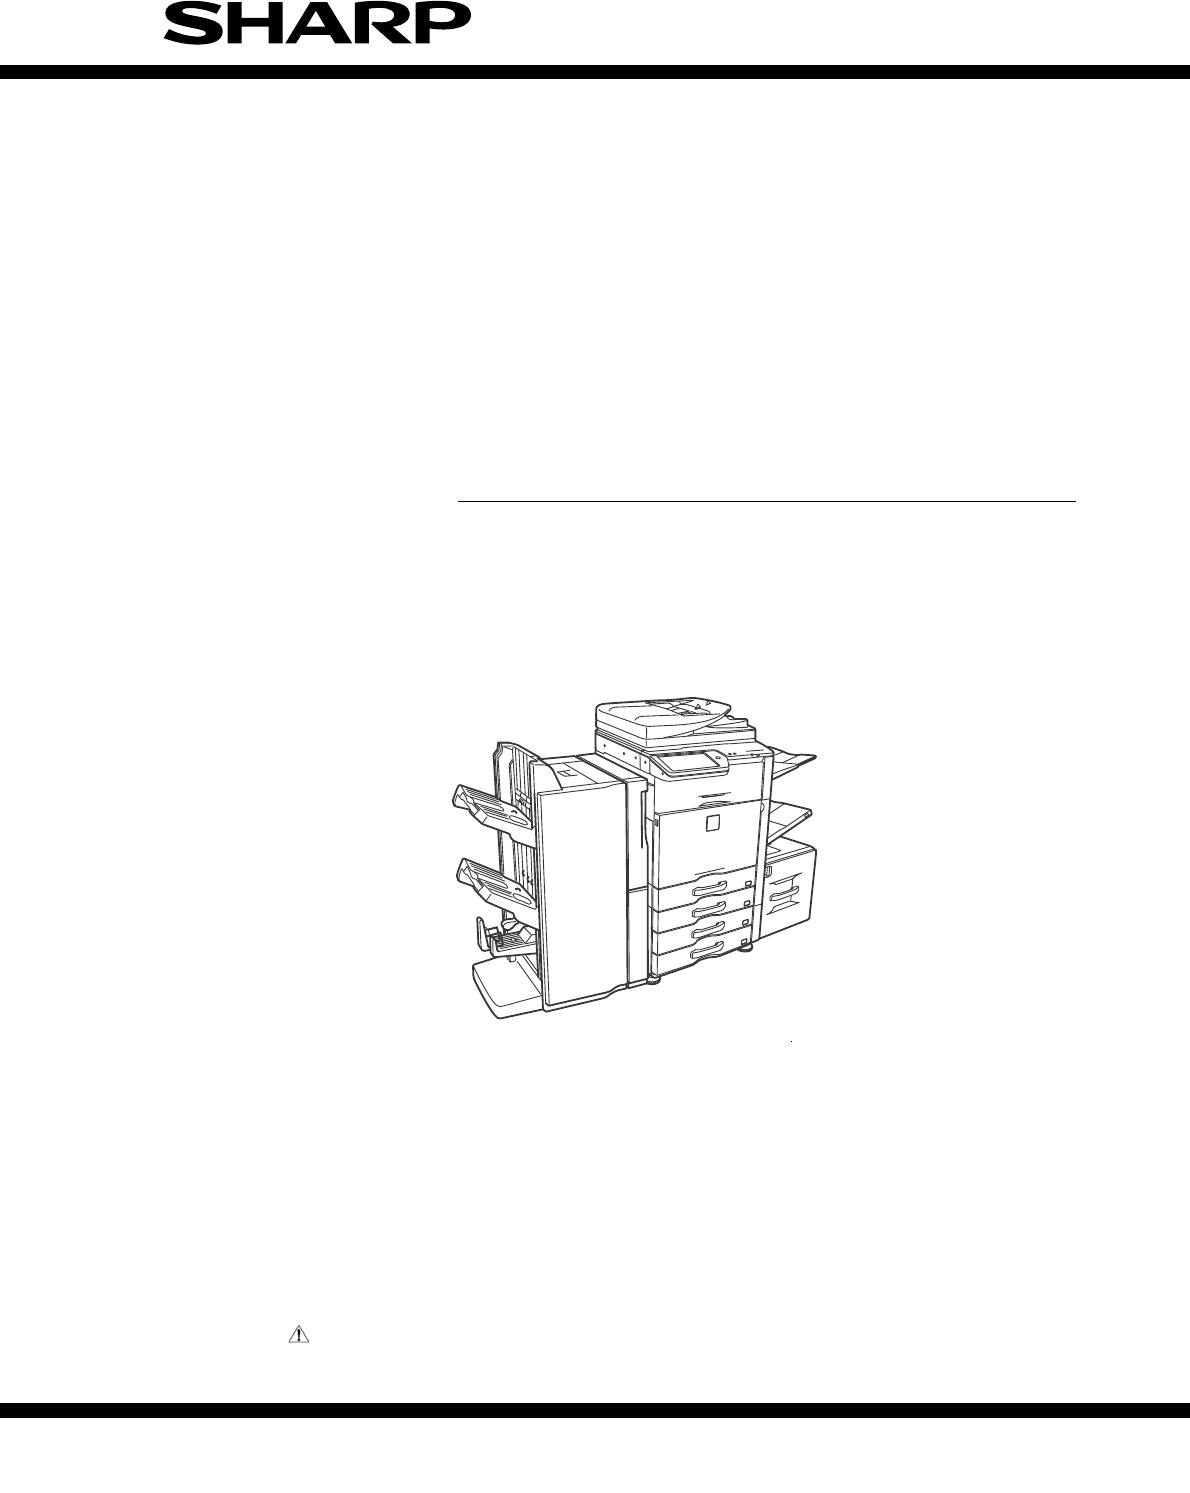
- INSTALLATION MANUAL 1
- MX-4140N/5140N 1
- MX-4141N/5141N 1
- 6HUYLFH0DQXDO 2
- (2) Contaminates 3
- (3) Direct sunlight 3
- (4) Gases and chemicals 3
- (5) Vibration 3
- 2. Transit and delivery 4
- 1. Unpacking 5
- 2. Installation 6
- G. Tray setup 10
- H. Specifications setup 10
- I. Image quality check 10
- 3. Image quality check 11
- SHARP GRAY CHART 13
- PRINTER CALIBRATION 16
- (Automatic adjustment) 17
Podsumowanie treści
INSTALLATION MANUALParts marked with " " are important for maintaining the safety of the set. Be sure to replace these parts withspecified o
MX-5141FN MX-4140N/4141N/5140N/5141N (MAIN UNIT) 2 – 6F. Installation of the operation manual pocket1) Install the Operation Manual storage (Packed
MX-5141FN MX-4140N/4141N/5140N/5141N (MAIN UNIT) 2 – 73. Image quality checkA. Execution itemsExecute the following items.B. Description(1) Print e
MX-5141FN MX-4140N/4141N/5140N/5141N (MAIN UNIT) 2 – 84) Write down the displayed skew level. (Meaning of the skew level value and the adjus
MX-5141FN MX-4140N/4141N/5140N/5141N (MAIN UNIT) 2 – 9(2) Copy color balance and density checkMEMO: Before checking the copy color balance an
MX-5141FN MX-4140N/4141N/5140N/5141N (MAIN UNIT) 2 – 10a. Color copy check items (Check to confirm the following:)1) There are 12 void areas.2) Regi
MX-5141FN MX-4140N/4141N/5140N/5141N (MAIN UNIT) 2 – 11b. Monochrome copy check items (Check to confirm the following:)1) There are 12 void areas.2)
MX-5141FN MX-4140N/4141N/5140N/5141N (MAIN UNIT) 2 – 12Method 2Use SIM46-21 to print the color balance adjustment sheet, andcheck each proc
MX-5141FN MX-4140N/4141N/5140N/5141N (MAIN UNIT) 2 – 13(4) Copy/Printer color balance and density adjustment (Automatic adjustment)1) Enter the SIM4
MX-5141FN MX-4140N/4141N/5140N/5141N (MAIN UNIT) 2 – 146) Set the color patch image (adjustment pattern) printed in theprocedure 5) on the doc
MX-5141FN MX-4140N/4141N/5140N/5141N (MAIN UNIT) 2 – 1510) When "COMPLETED THIS PROCEDURE" is displayed, theadjustment operation is
MX-5141N Transit, Installation (using) environment, Note – iMX-5141N6HUYLFH0DQXDOTransit, Installation (using) environment, Note1. Installing (use)
MX-5141N Transit, Installation (using) environment, Note - iiOperational environmentTemperature: 10 to 35CHumidity: 20 to 85% RHAtmospheric pressure
MX-5141N Transit, Installation (using) environment, Note – iii? When repairing or replacing an electronic part, perform theprocedure on an an
MX-5141FN MX-4140N/4141N/5140N/5141N (MAIN UNIT) 2 – 1MX-5141FN6HUYLFH0DQXDO[2] MX-4140N/4141N/5140N/5141N (MAIN UNIT)1. UnpackingA. Unpacking pr
MX-5141FN MX-4140N/4141N/5140N/5141N (MAIN UNIT) 2 – 22. InstallationNote before installation* When connecting the main unit with the optional STAN
MX-5141FN MX-4140N/4141N/5140N/5141N (MAIN UNIT) 2 – 35) Remove the screws.6) Hold the sections A, and remove the DV cover in the arrowdi
MX-5141FN MX-4140N/4141N/5140N/5141N (MAIN UNIT) 2 – 411) Install each developer unit.* When installing the developer unit, be sure to check that th
MX-5141FN MX-4140N/4141N/5140N/5141N (MAIN UNIT) 2 – 52) Open the front cabinet, and pull the toner cartridge out slowlyand horizontally.* Be sure
Więcej dokumentów dla Urządzenia wielofunkcyjne Sharp MX-4140N


Powiązane produkty i podręczniki dla Urządzenia wielofunkcyjne Sharp MX-4140N
 (116 strony)
 (20 strony)
  (162 strony)
(167 strony)
(112 strony)
(116 strony)
(162 strony)
(167 strony)
(112 strony)
(116 strony)
© 2020, manymanuals.pl. Wszelkie prawa zastrzeżone. | 0.034 s |
 Manymanuals.com
 Manymanuals.de
 Manymanuals.fr
 Manymanuals.it
 Manymanuals.pl
 Manymanuals.cz
 Manymanuals.es
 Manymanuals-pt.com
Komentarze do niniejszej Instrukcji